Preparing a Thanksgiving feast:
Let’s be honest preparing a yummy Thanksgiving feast can be overwhelming and stressful if you have never hosted one before. But with a plan, preparing the necessary items ahead of time, and recruiting some help, it can be done. I honestly have never had to make a turkey because thankfully either my aunt, mom, or Todd’s mom have always hosted our Thanksgiving lunches or dinners, THANKS MOMS! But I do volunteer to make the side dishes and desserts, because those are my JAM.
Plan you menu:
As you all know, I am a planner, and planning out a menu ahead of time helps me feel less stressed. This is also a great guide for me when I plan my grocery list. It assures I only have to make one trip to the store.
Meal prep ahead of time:
I like to meal prep all the side dishes and desserts ahead of time and store them in the refrigerator or freezer. And then on Thanksgiving I simply add to oven to cook. I also will pre-chop anything needed for the day of, especially if planning on doing a variety of appetizers.
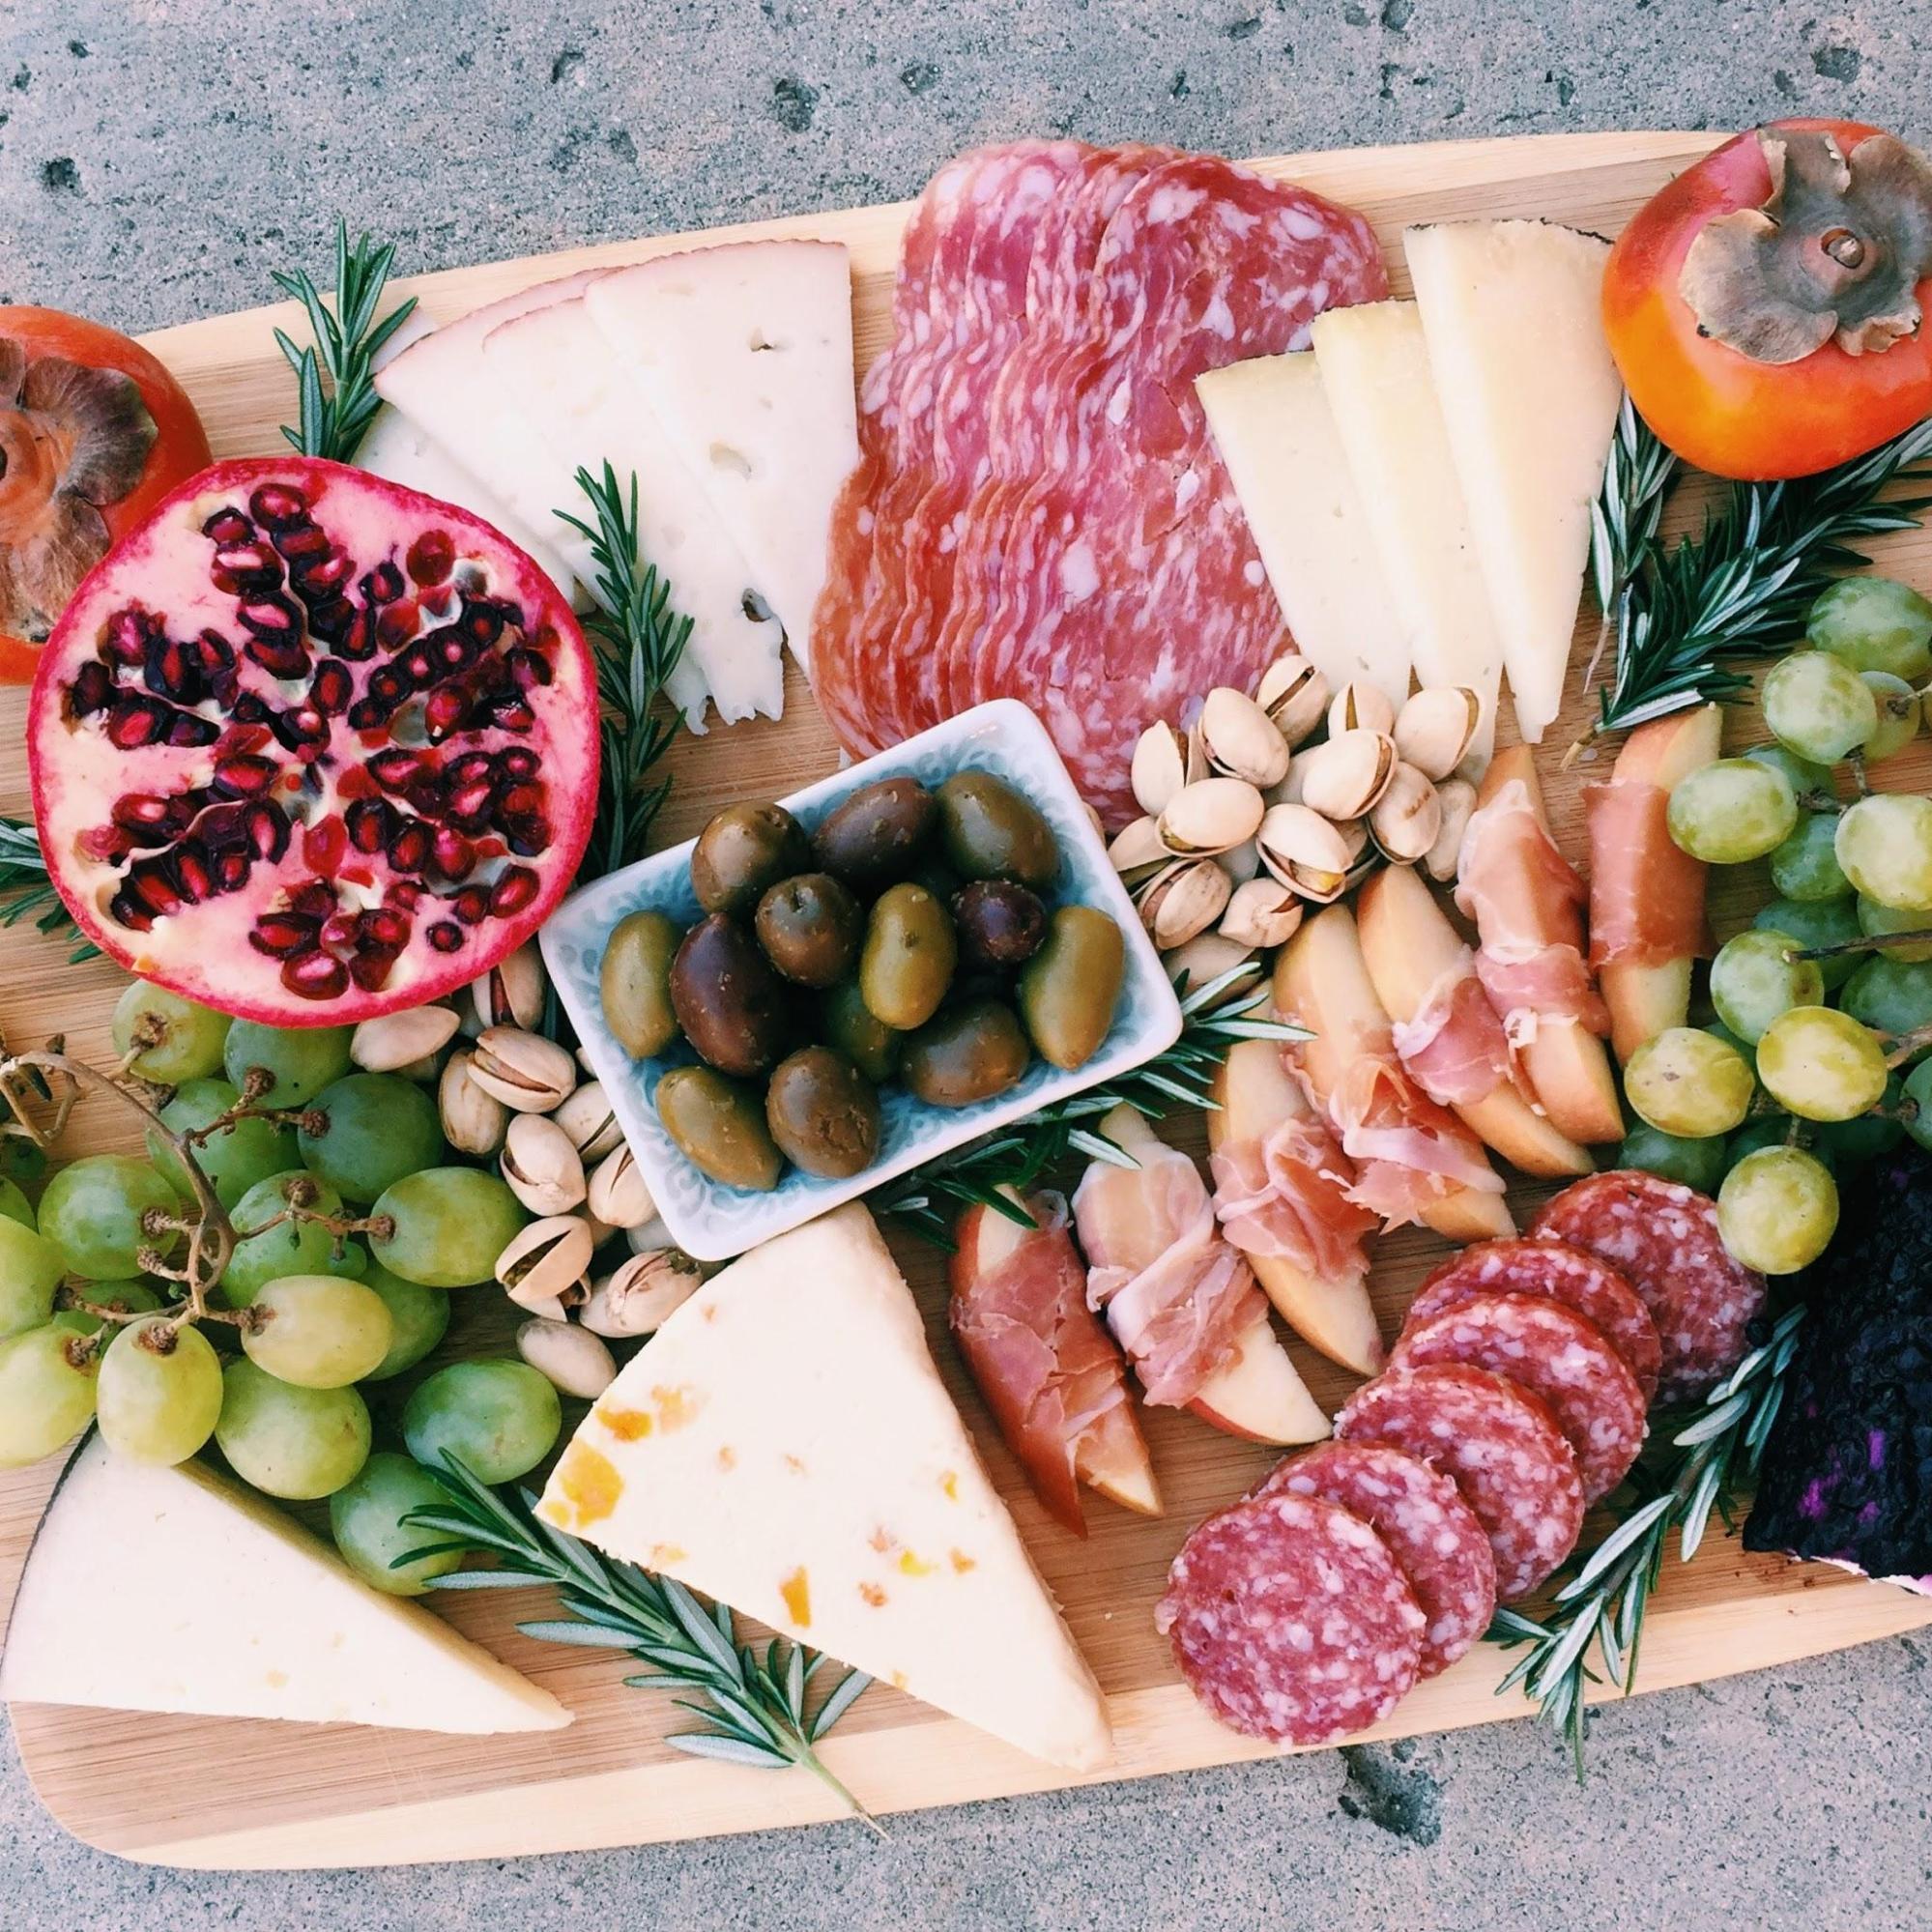
Appetizer ideas:
How To Build A Charcuterie Board
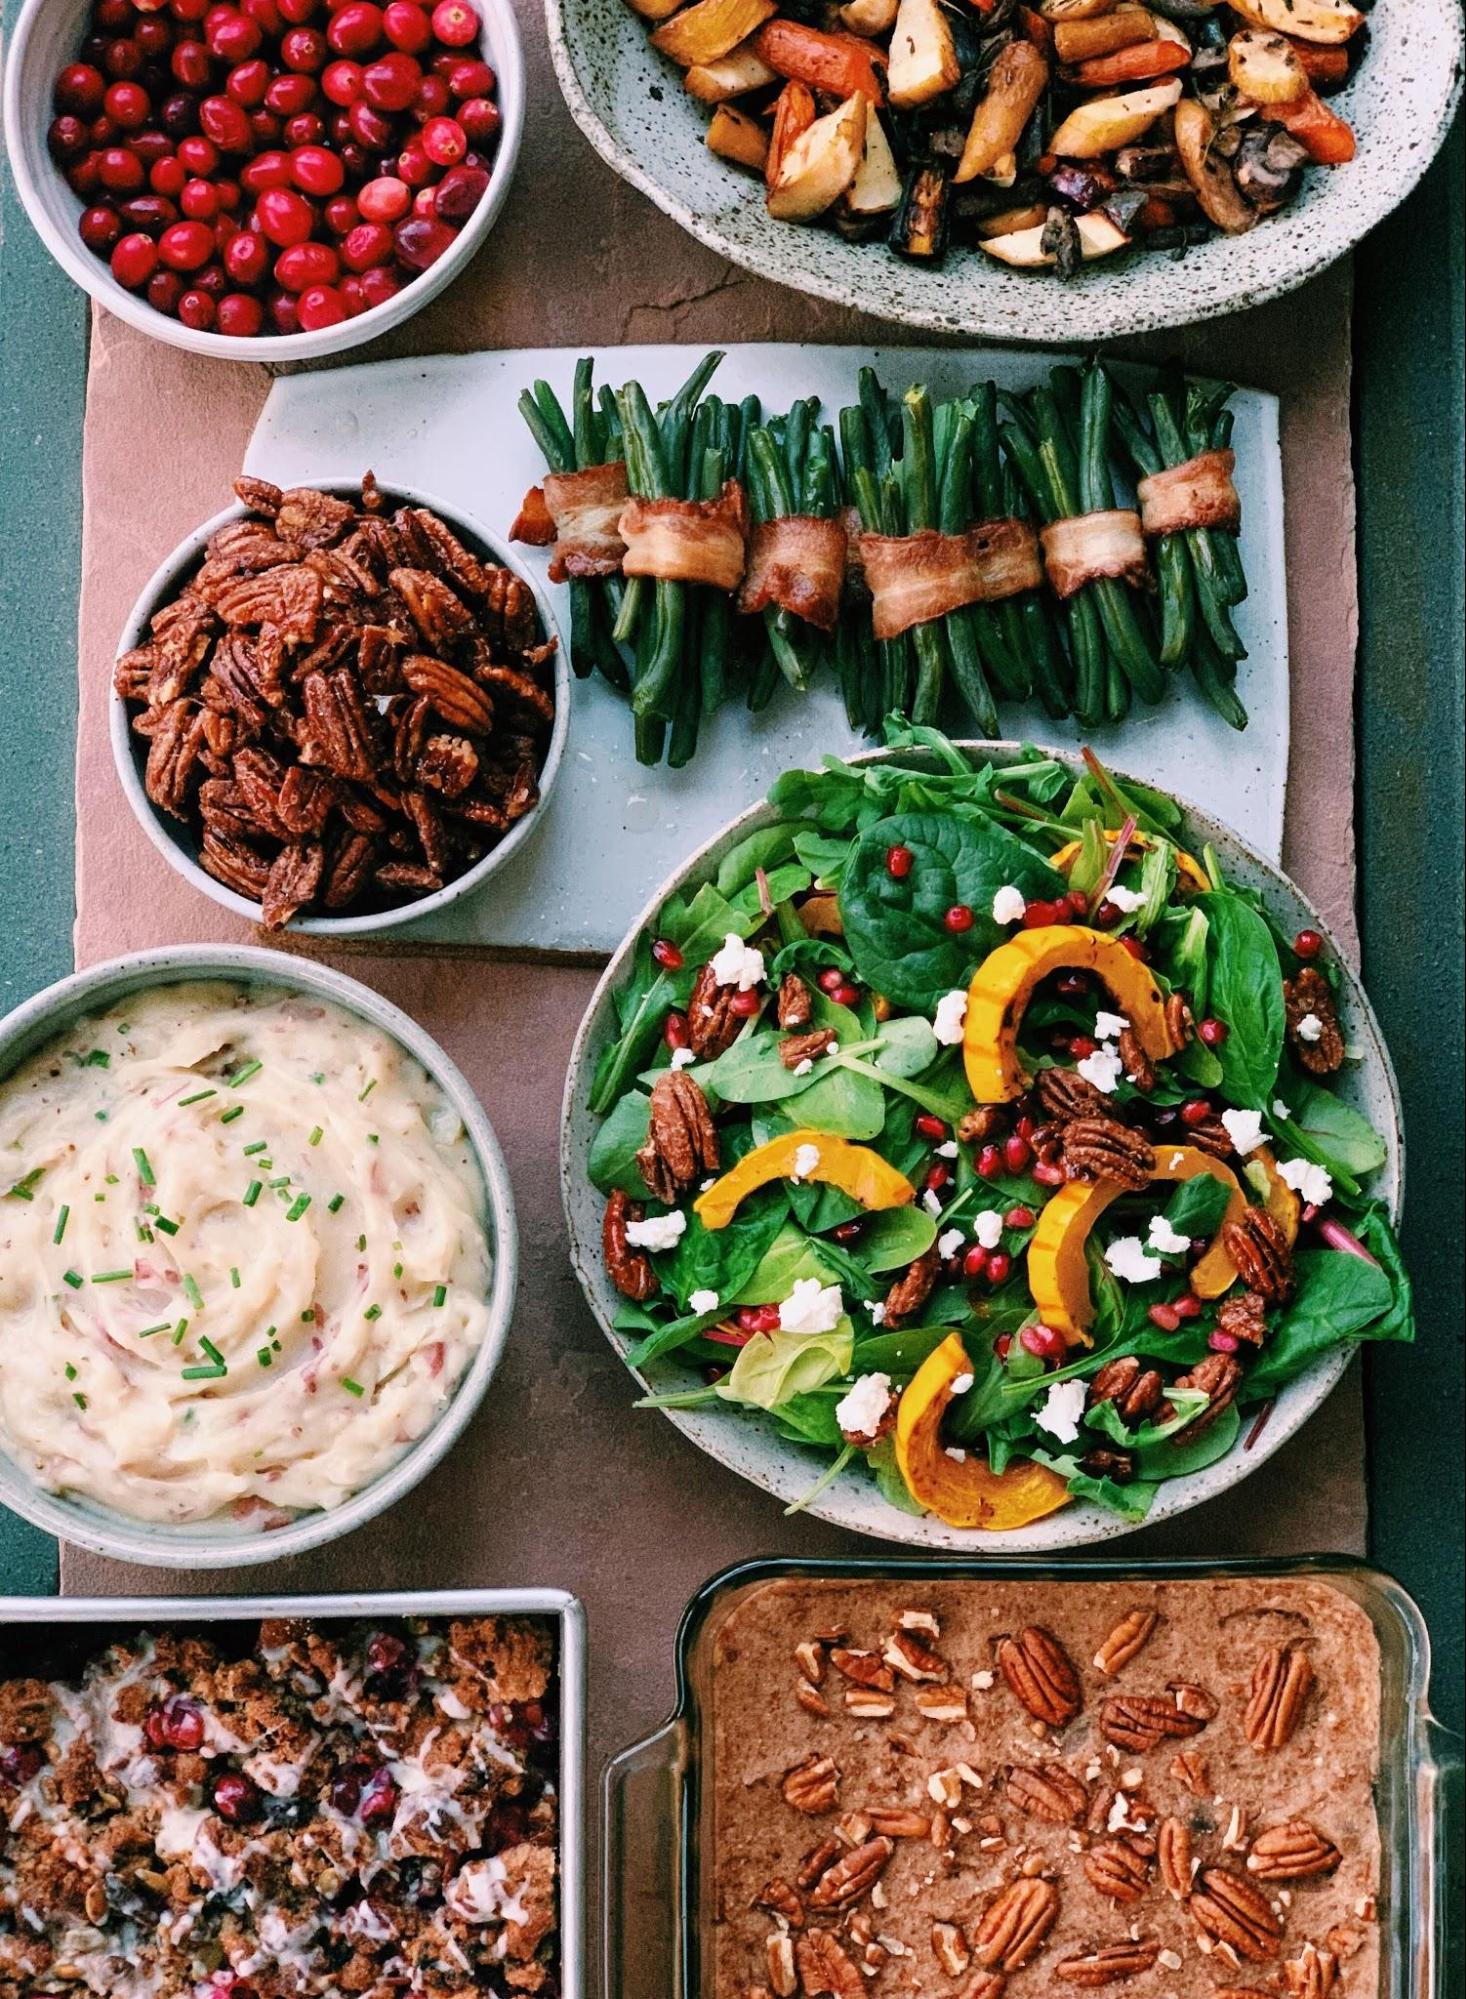
Side dish ideas:
Grain-Free Sweet Potato Casserole
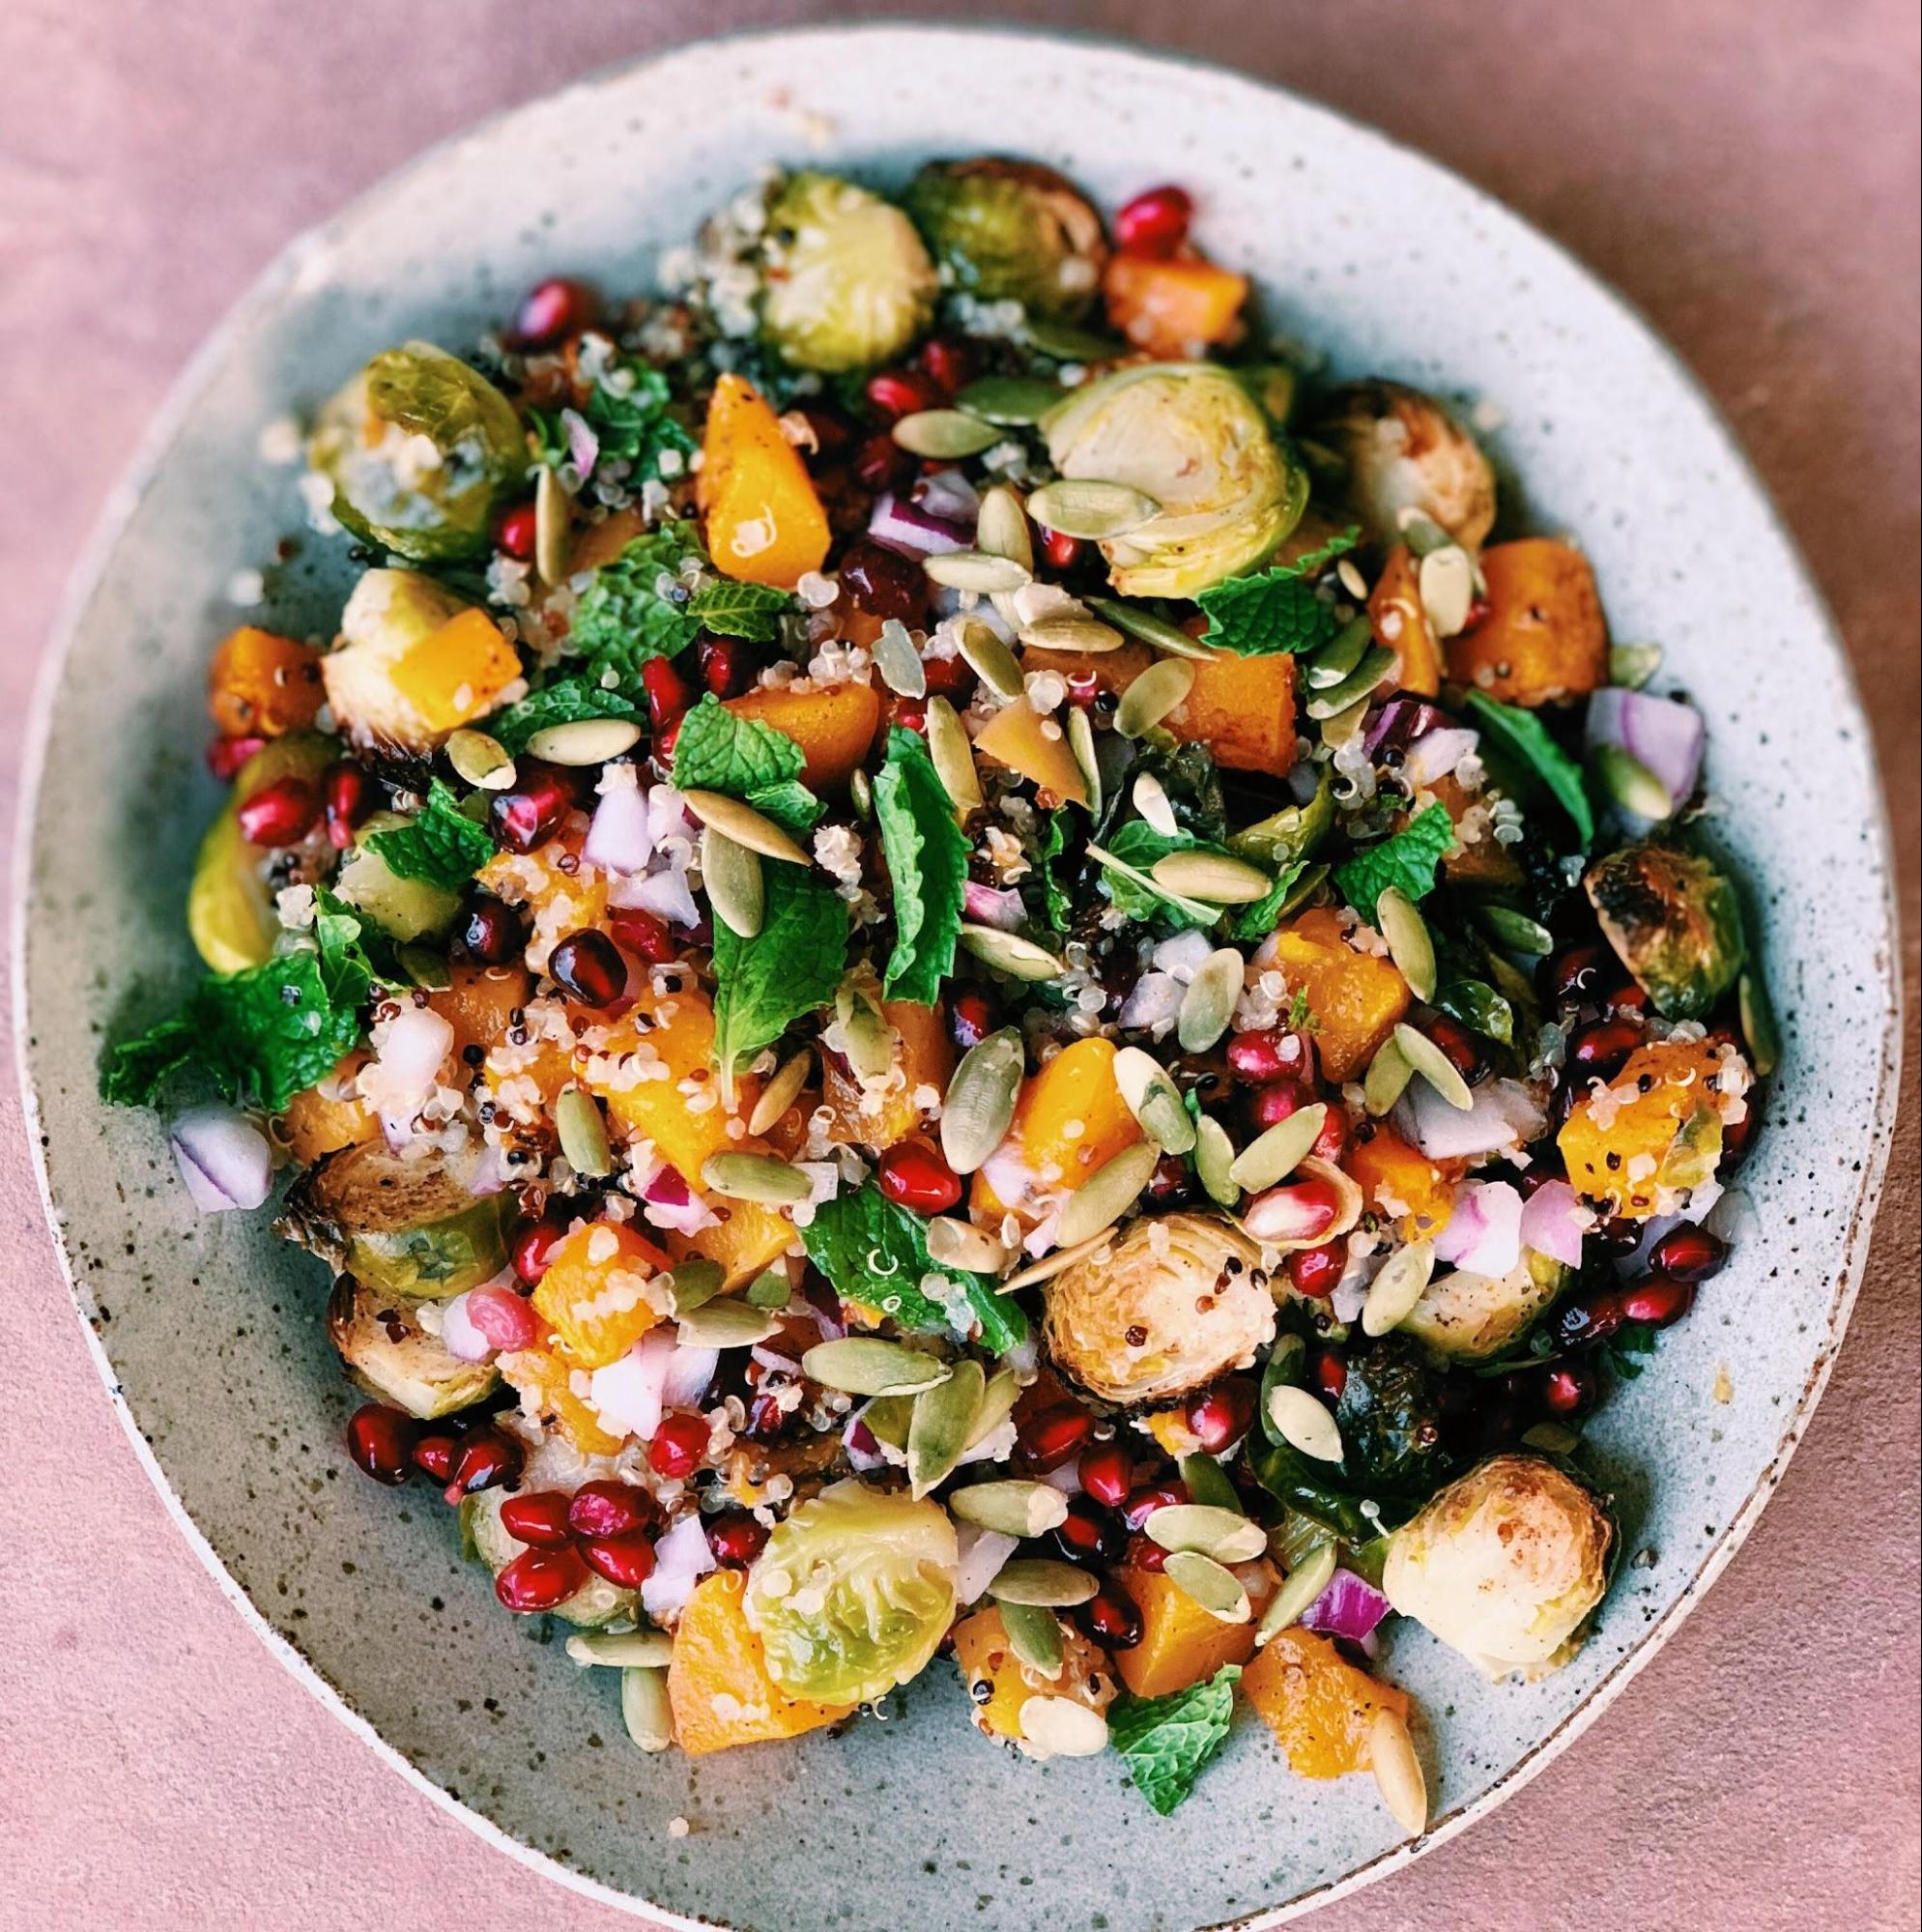
Maple Mustard Roasted Fall Vegetables
Dessert ideas:
Gingersnap pear and cranberry crisp

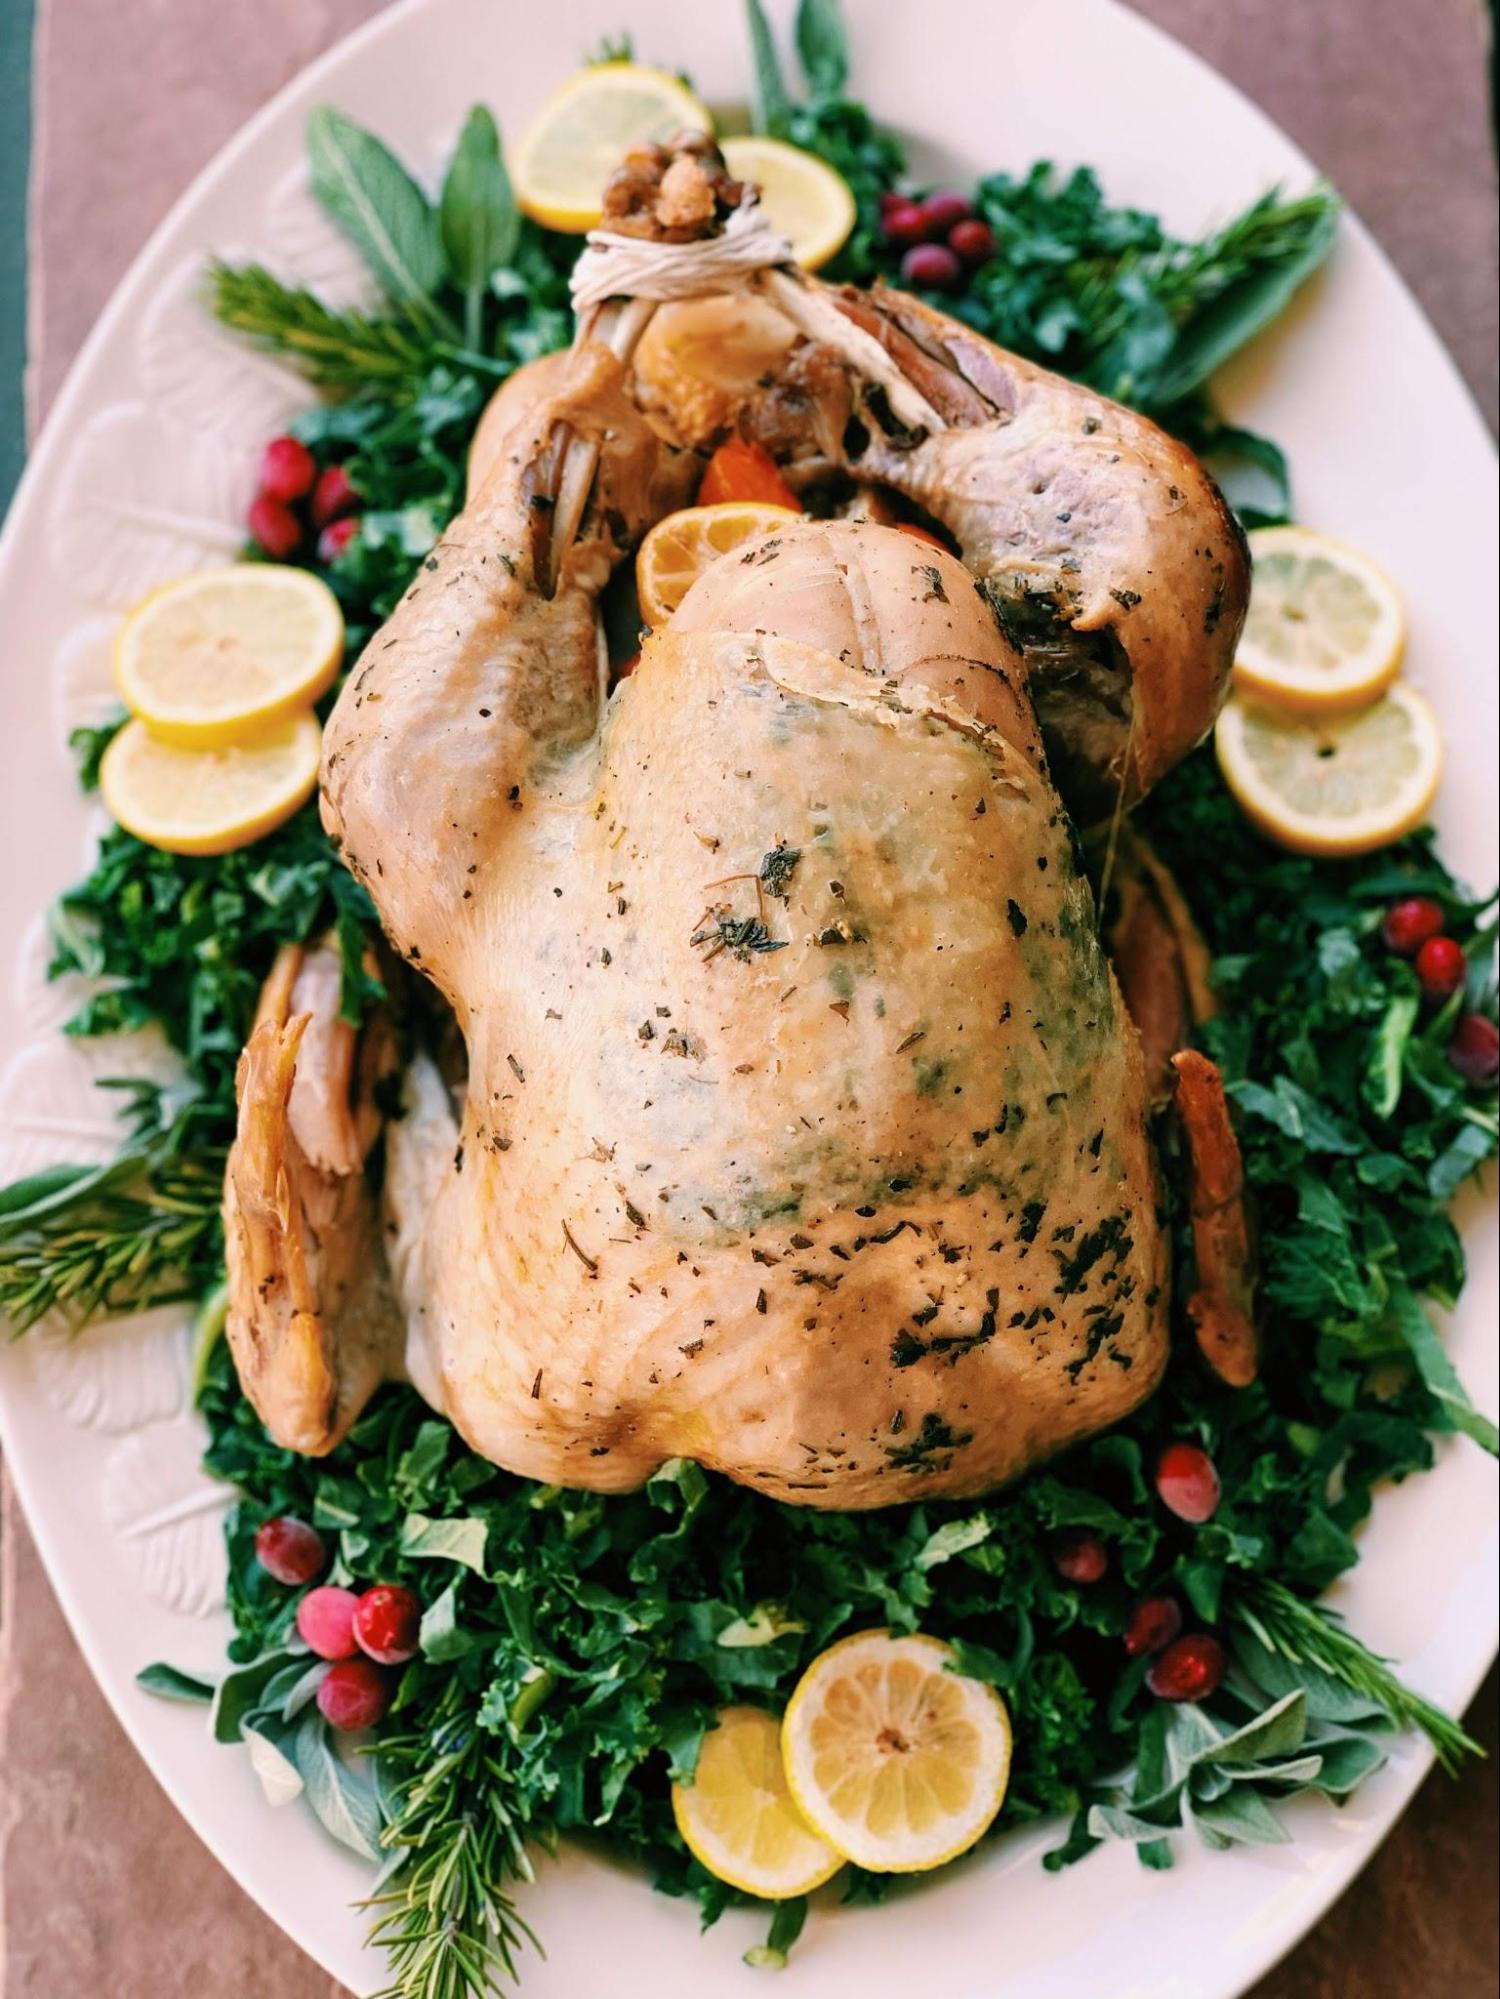
Defrosting Turkey:
I used a 12 lb. Buy Ranch Direct Turkey. For every 4 lbs the turkey needed 24 hours of defrosting. So for mine I started to defrost mine on Monday, since I planned on cooking Friday and wanted at least 24 hours to brine. Once it defrosted I patted it down with paper towels and removed the neck and giblets from turkey.
Brining Turkey:
There are various ways you can brine a turkey but I wanted to use the easiest and quickest method, so I stuck to a dry brine. I used kosher salt, fresh dried herbs, garlic powder, and pepper. I spread it all over the top of the turkey as well as underneath the skin. Then I transferred it to a brining bag I found at HomeGoods and let it sit in the refrigerator for 24 hours. The next day I patted the turkey dry with paper towels and prepared my herb butter.
Making herb butter:
It was super easy to make my own herbed butter. I used Vital Farms Pasture raised butter and fresh dried herbs such as; rosemary, thyme, and sage. I simply added my softened butter (I did about 1 1/2 sticks) to a bowl, chopped herbs, mixed, and added to the top and underneath the skin of my turkey.
What to cook in:
I used my counter roaster pan to cook my turkey in since my oven hasn’t been working for a couple years now. We usually use convection oven to cook everything over here, but there is no way a turkey would fit in it. I added 3 bags of turkey bone broth to the bottom of my roaster along with fresh root vegetables, and set to the highest temperature. I added my turkey and cooked at the high temperature for 30 minutes. Then I lowered to 325 and cooked until I reached internal temperature of 165. For every lb. you want to cook your turkey for 15 minutes, but I would suggest checking throughout because I ended up cooking mine for less time since the internal temperature had already reached 165 and I didn’t want it to be dry.